You don’t have to be a seamstress or tailor to be curious about how to make face masks. This case study focuses on my journey to make comfortable, stylish, washable masks with adjustable nose-wire and ties.
How can we optimize the design of face masks to ensure adjustability, comfort, and durability?
The Research
When I decided I wanted to sew face masks, I started by researching a pattern that follows the CDC’s recommended guidelines for Cloth Face Coverings. I also watched videos explaining the effectiveness of different mask designs, like this one:
It was immediately apparent that there were MANY different opinions and lessons to be learned about how to make face masks.
I decided my goal was to sew masks for people who had to be out in public, NOT medical professionals. Therefore, I did my research to find a pattern that would be both comfortable for almost anyone to wear AND offered the highest level of protection/filtration I could make with materials I had or could easily obtain.
The Design Patterns
I found many cloth face mask makers using a pleated, rectangular design with elastics that go around the ears. They’re fast and easy to sew, but I decided not to start with that pattern for two main reasons:
Comfort
Fitting a flat rectangle across the three-dimensional bridge of your nose and cheeks isn’t very comfortable. I saw people pulling them down away from their eyes constantly or letting them slip down under their nose.
And in the hot summer heat, breathability is very important. You don’t want to feel like you’re suffocating while running errands! However, you also want the mask to do its job…
Filtration
If you haven’t already heard it a million times, the point of wearing a face mask is to prevent aerosolized viral particles and droplets of saliva from moving a long distance away from yourself.
Let me be clear – wearing a face mask or cloth covering the WRONG way – i.e. it doesn’t cover your mouth AND nose – is the same as not wearing one at all!
Gaps at the cheeks and under the chin also reduce the mask’s effectiveness.
I thought, why wear one if it’s not doing the job it’s supposed to do?
So I started searching for a pattern that would be both comfortable AND effective.
Pattern #1
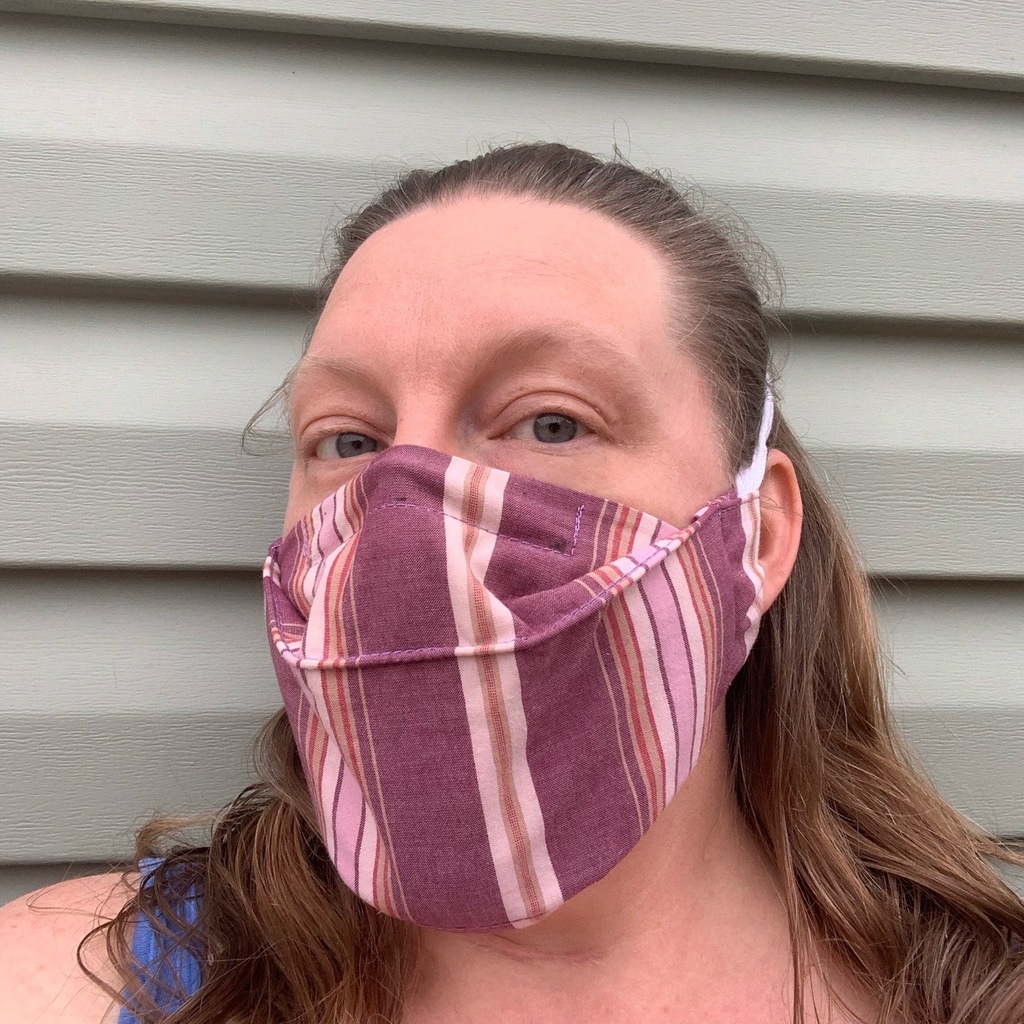
The pattern I started sewing is from Craft Passion. It fits well, closes up gaps, and you can add a nose wire and filter pocket to add an optional disposable filter or face mask. Compared to pleated and other loose face mask designs, this is a much more fitted version. Instead of diverting your breath around the sides of your face, it’s designed to be ‘breathed through’.
It’s a VERY comfortable mask. My husband and young sons still have a few in this design, and they never complain about the fit.
However…
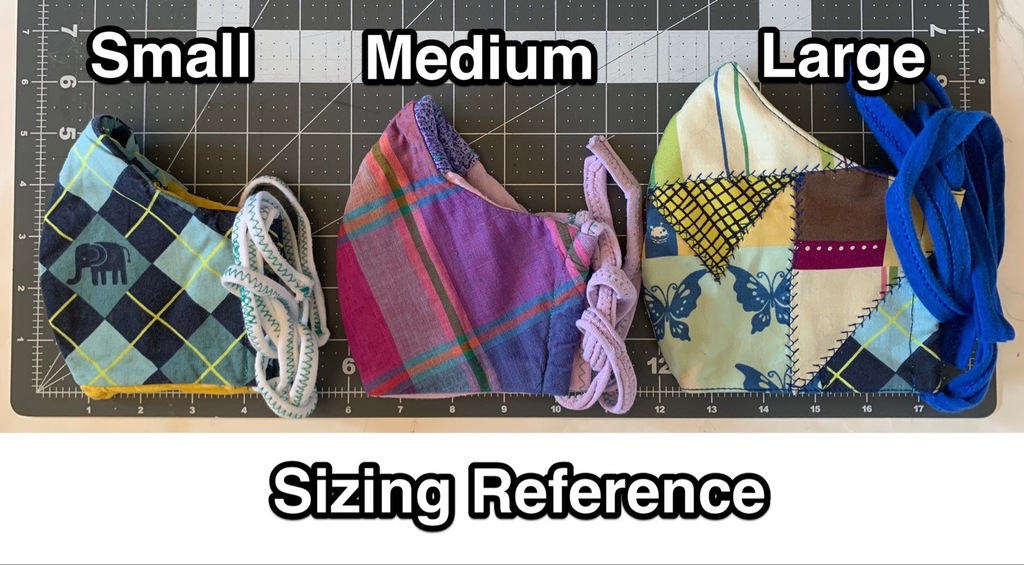
The downside of this pattern is because it’s fitted, there are at least 4 different sizes. There is no one-size-fits-most. If you make it large enough, it will fit most adults (even those with short beards!).
Shortly after I started making them, I used the “Men’s” size and slightly larger for both Men and Women (my Large size – seen below). I’ve also used the “Women and Teen’s” size for kids (Medium in the photo below). This is because I’ve found the pattern tends to run a little small (and I want them to stay a bit bigger in case of shrinkage). It’s better to wear one a bit larger because you want the mask to cover under your chin completely. And if you talk, you don’t want it to start working its way down your nose and cheeks.
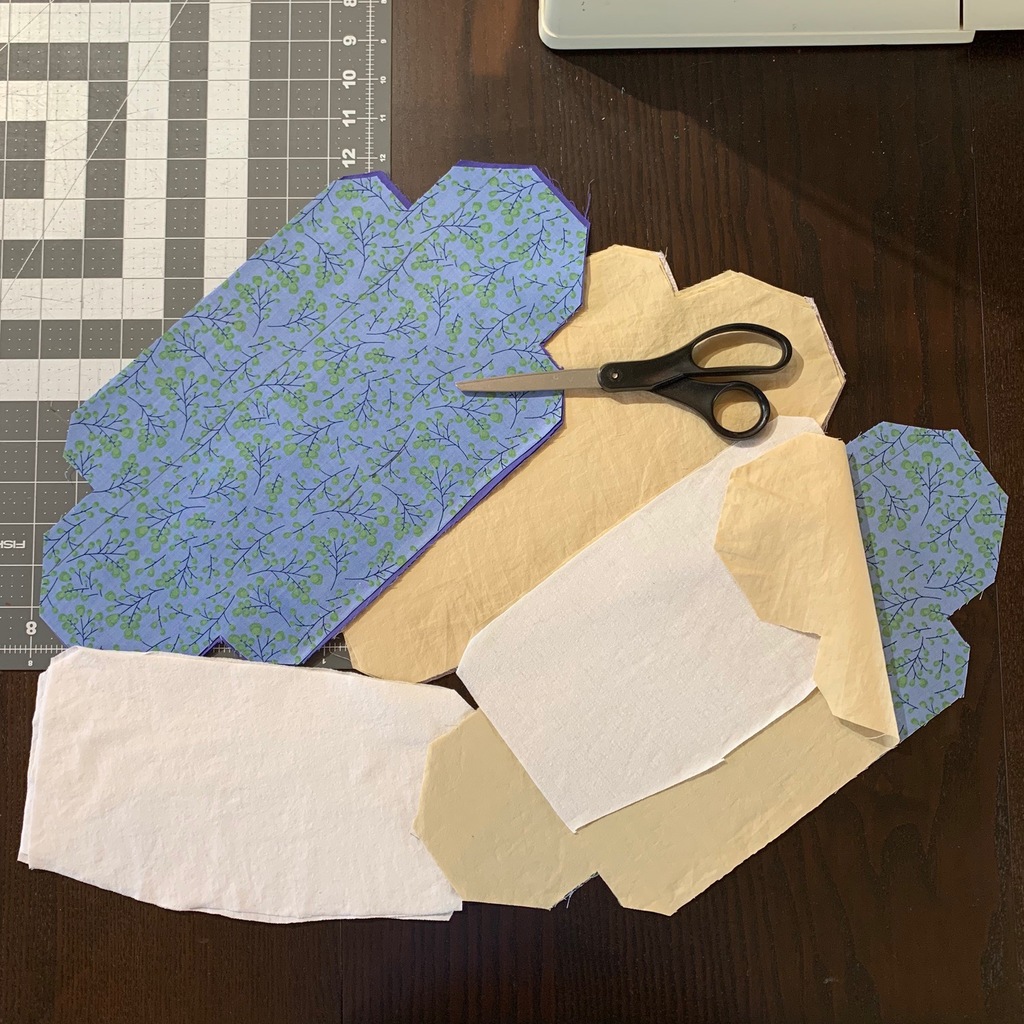
I made over 50 masks with the Craft Passion pattern – most of which I gave away. I learned a lot about:
- how to pre-wash fabrics to mitigate shrink and bleed
- how to match up fabric facing and lining,
- the finer points of thread tension and needle types,
- not to mention how to sew a straight seam!
Overall, it was a great pattern to start with, but as I read about other mask-makers’ experiments, curiosity pulled me on a pattern-hunting adventure.
Pattern #2 (and 2.1 and 2.2)

Specifically, I wanted to find something that offered a little more breathing room in front of the nose and mouth. My online search turned up several great videos and tutorials on how to make all kinds of face mask designs.
I found a few very informative videos, including a couple from The Fabric Patch.
In my opinion, they do a really great job demonstrating the fabrics, patterns, nose-wire, elastics, and ties they’ve used. They also explain why and how they’ve changed what they’ve made over time. It really shows you how important it is to learn how to make face masks the right way.
But…
They introduced me to the Jesse Killian design through one of their videos, so – I decided to try that design next. However, that pattern’s PDF is 18 pages long, with many many more sizes and combinations than the Craft Passion pattern. Finding the right one requires you to take accurate facial feature measurements, which is extremely difficult to do while social distancing! Since it’s impossible to find a universal size with this pattern, it’s not ideal for resale or donation.
I tried making a Jesse mask for myself. But I had to add a couple of darts under each side of my chin to tighten it up. I also tried modifying the pattern by adding extra space near the mouth and shaping it more like the Craft Passion pattern. To be honest, I had a little success, but I wasn’t completely satisfied with the results.
Pattern #3
Then I tried the 3D mask pattern (similar to the Aplat and Octagon designs). This starts with a rectangle of fabric with corners clipped and pleats inward on top and bottom. This has three major advantages over both the flat pleated and fitted masks.
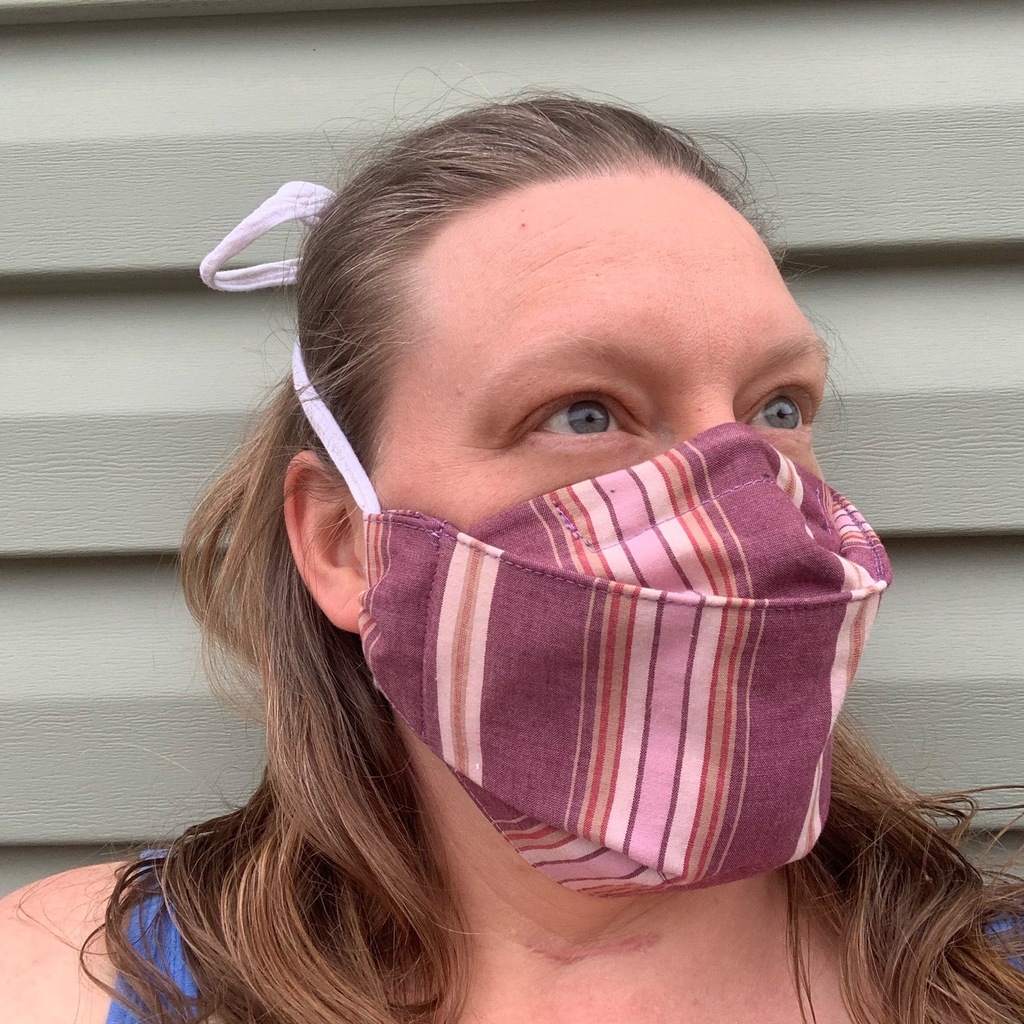
This pattern has proven to be surprisingly comfortable – even in hot weather. First, it gives you a lot more breathing room at the mouth.
Second, the pleats allow the edges to stay in contact with your cheeks, chin, and nose while your jaw opens. I’ve tested talking and opening my mouth wide (think yawning!), and this pattern beats all the others, hands down.
Third, the nose-wire holds it’s shape well with this style. My husband (who wears glasses), raves about how his glasses don’t fog up compared to when he (occasionally) wears other masks. When I wear sunglasses, I agree – no fogging. This is definitely due in part to the particular type of wire I used – which I’ll talk about more below.
Pattern #4
The pattern I settled on is a combination of a few I’ve tried, plus my own modifications:
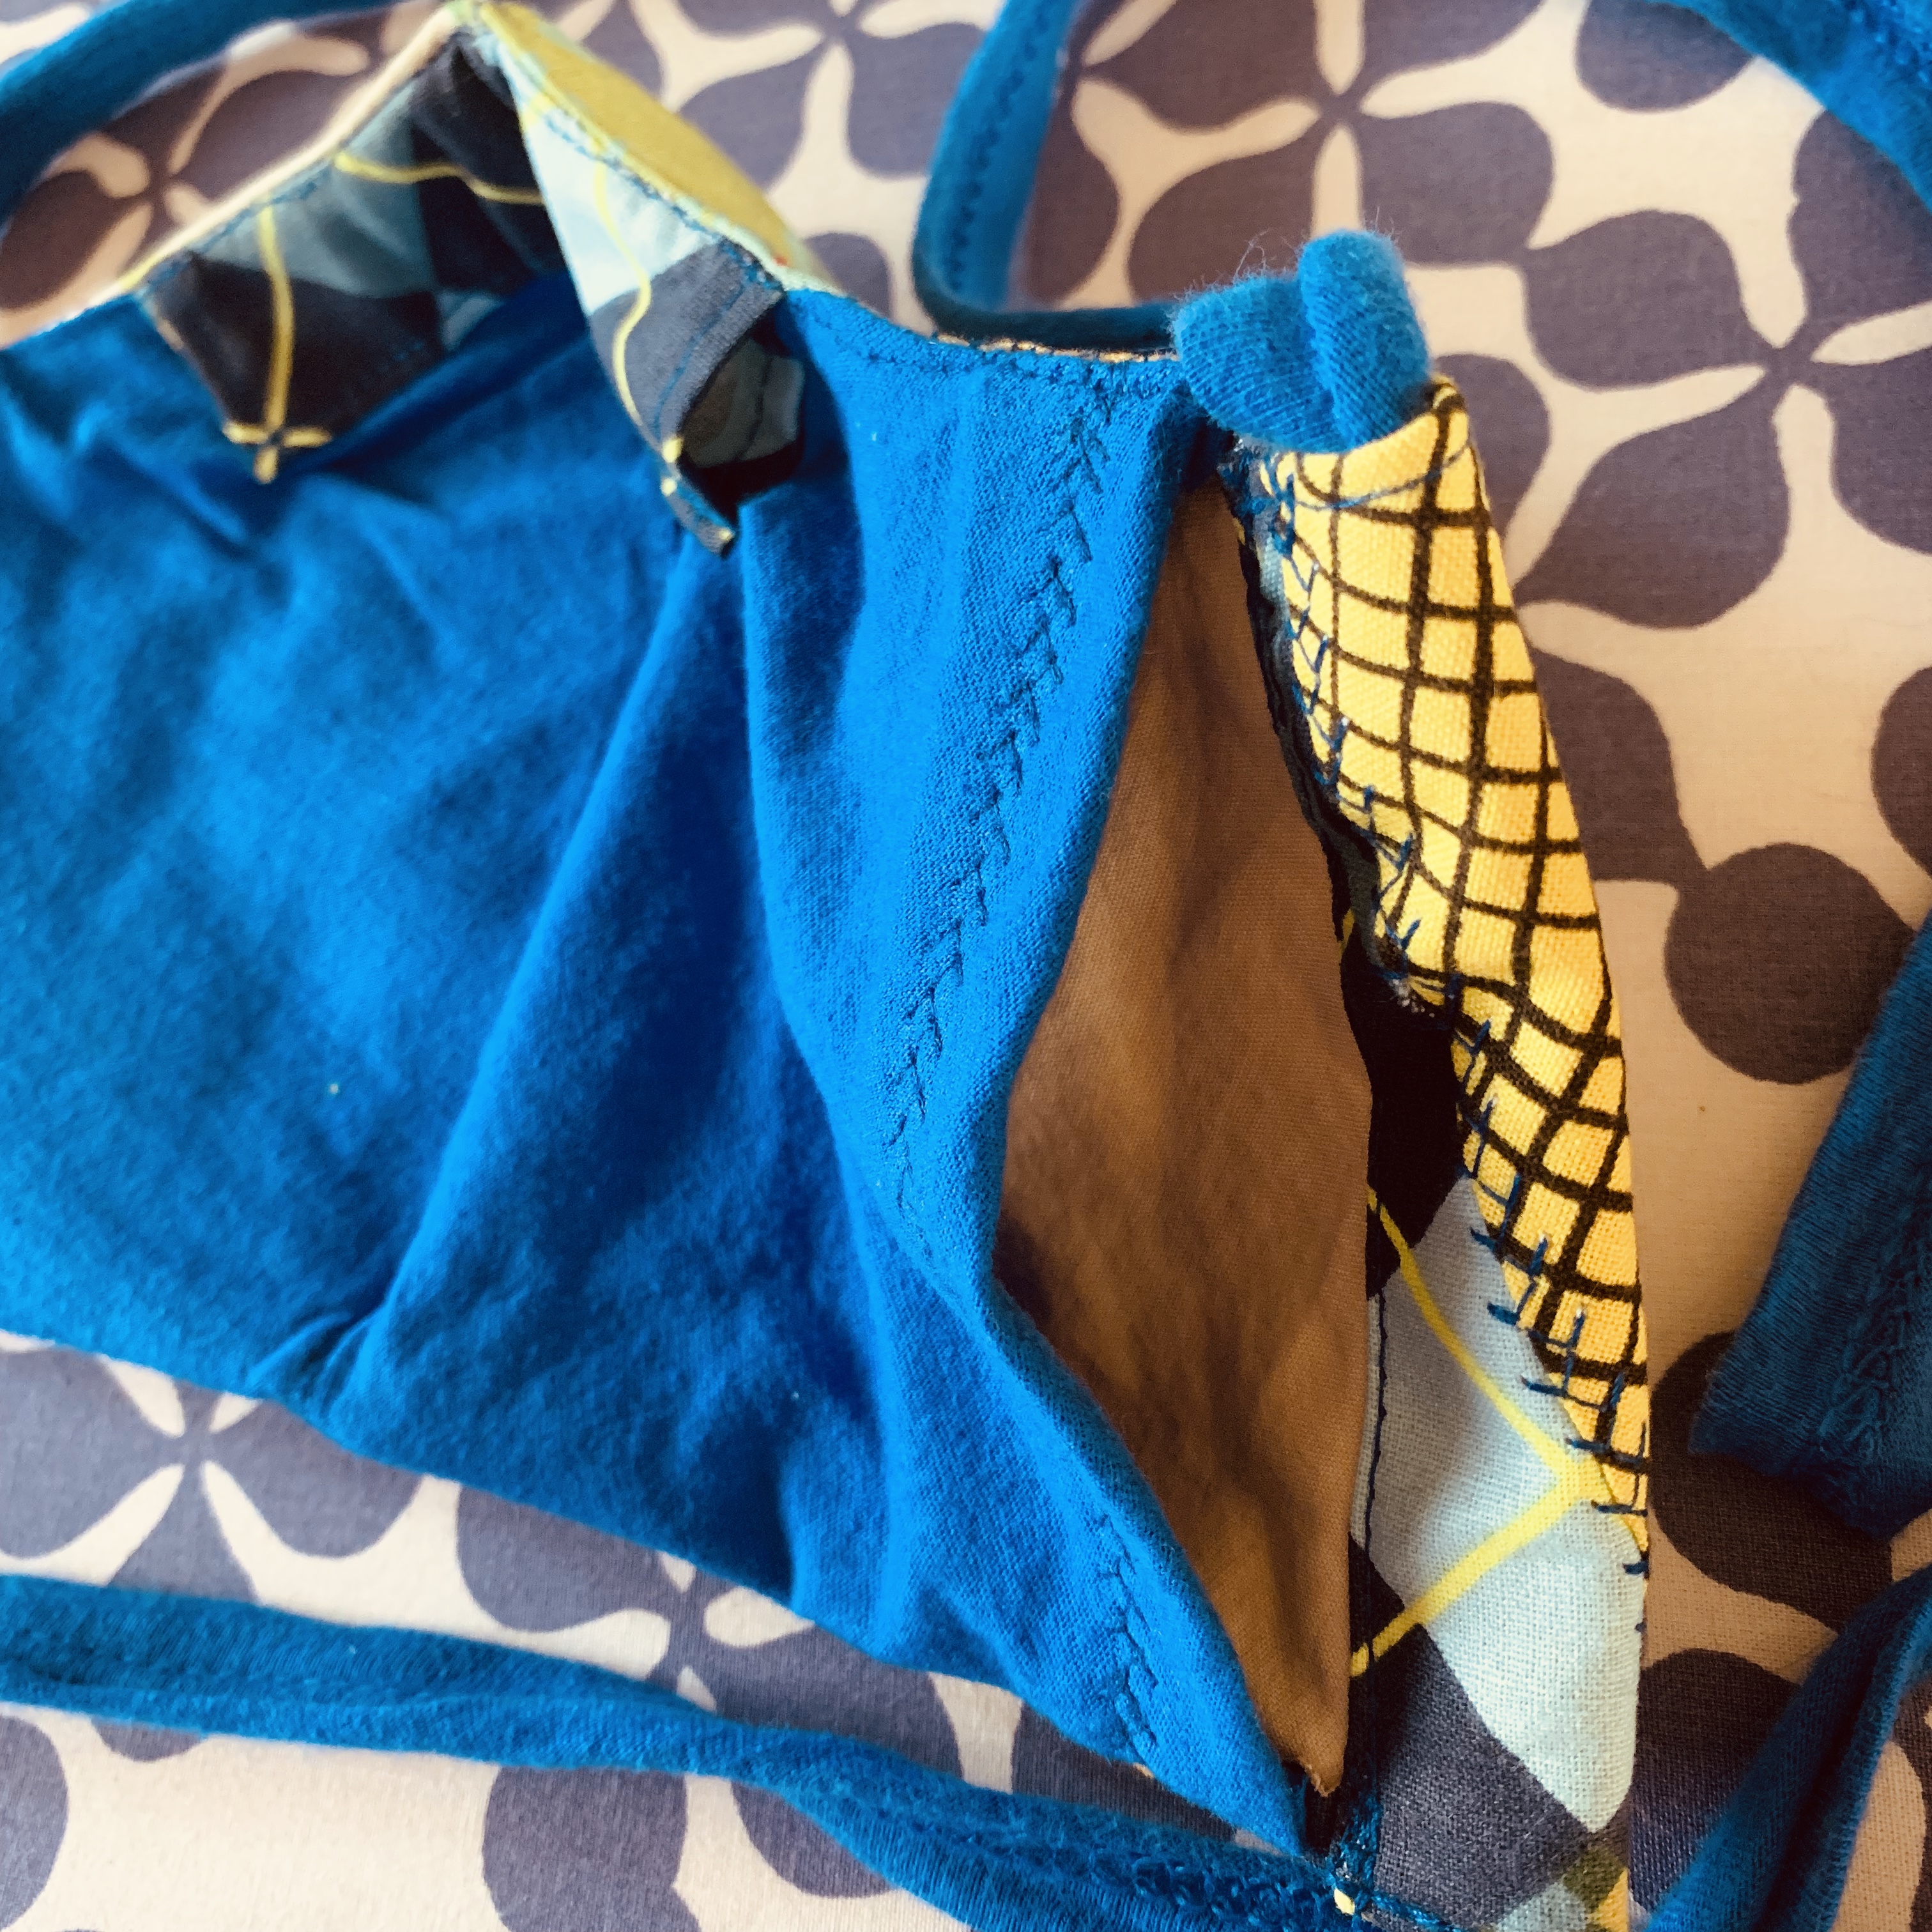
- I added fabric to the sides to make channels for t-shirt yarn loop and ties.
- I also added about a 1/2″ of fabric to the top. This allows me to seam together a front-facing fabric and inner liner without losing length above the nose.
- I also used my favorite heavy-duty coated nose wire as opposed to other nose-wire alternatives.
Lessons Learned, Evolving Ideas from How to Make Face Masks
So – after making over 100 masks, let’s talk about what I’ve learned about how to make face masks.
Inner Filter Pockets
If you want added protection, you can add a filter to a sewn-in filter pocked. Either a small, flat disposable mask or a coffee filter will fit. On the Craft Passion masks, I used soft t-shirt fabric to create the layer that sits against your face and opens on both ends. For masks without a filter pocket, there’s enough room in front of your nose and mouth underneath the mask to wear a disposable mask underneath the cloth one.
However, I’m not a medical or aerosol expert or engineer. So PLEASE – do your own research before adding a filtration material! Some materials suggested online may actually be harmful to your lungs.
When I first started, I liked the idea of a filter pocket for a disposable filter. But as I used my masks, it became much less of a critical feature. Several months later, I’ve left it out of the ones I’m currently making because it added more bulk than necessary. And, if you want to use an additional disposable filter, the new design is large enough at the mouth and nostrils that you can tuck one inside if you like.
Nose Wire Experiments
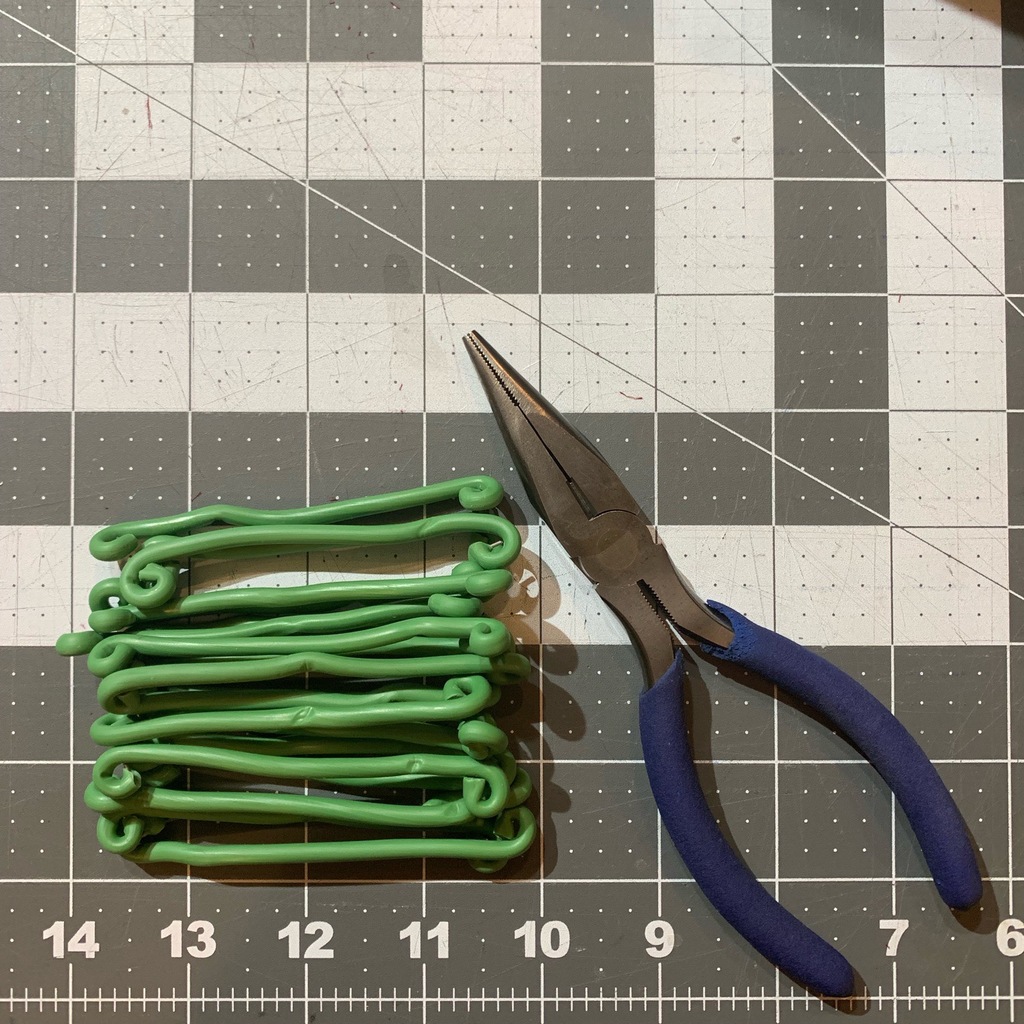
I also tried using twist ties and paper clips for the nose-wire. But they just don’t compare to coated garden wire. In my opinion, the former are too flimsy to keep their shape. I’ve broken twist ties that were sewn-in, making it hard to replace them. So when I started making masks, I included a pocket for the nose wire. My idea was that it could be a handy feature for replaceability. But the garden-coated wire is so heavy-duty, I haven’t had to replace any in all the masks I’ve made. So I ended up sewing them in – making production much faster and easier.
Straps/Ties
One of the first lessons I learned is that adjustability is the key to fit. If your straps are a one-size length, they’re going to be too large for some, too small for others, and just right for only a few. You need to be able to adjust their size to the circumference of your head (if you wear them horizontally), or from the side of the mask to behind your ears – without straining or looseness.
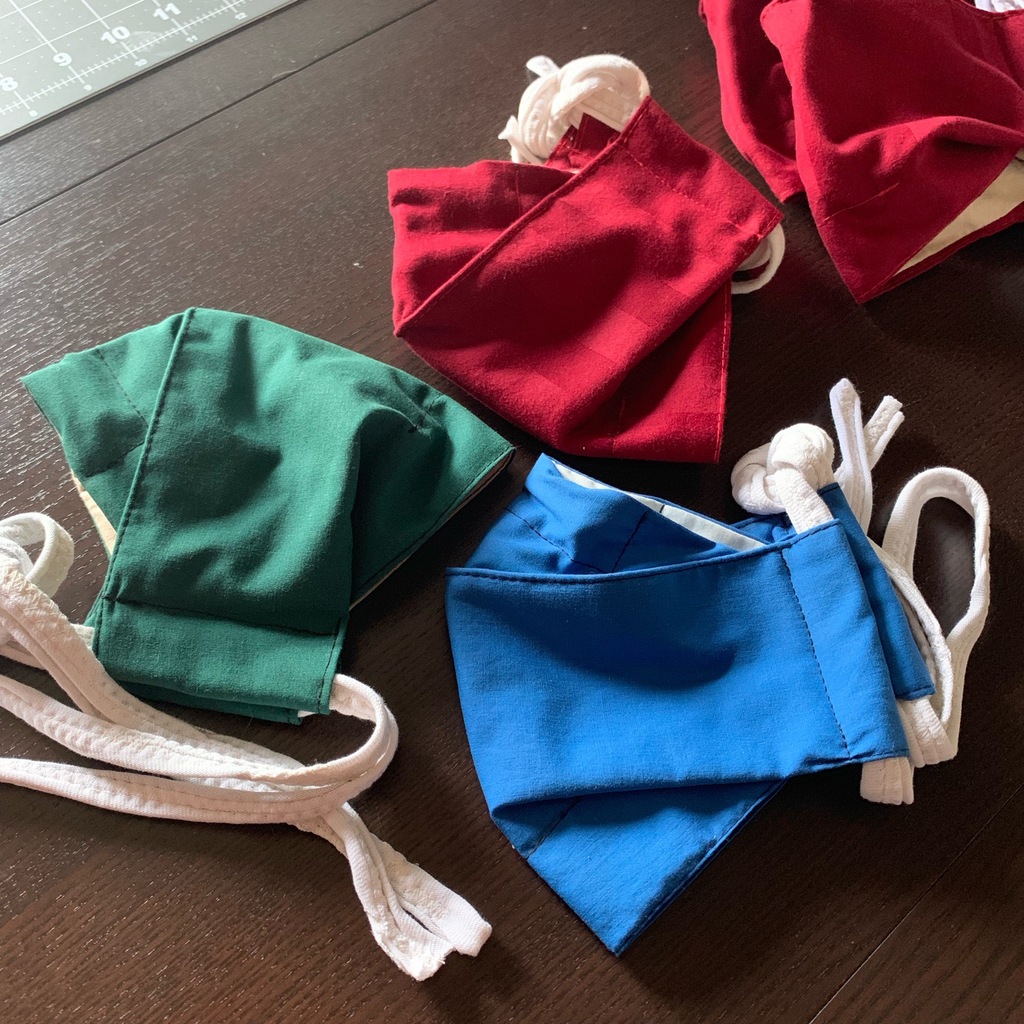
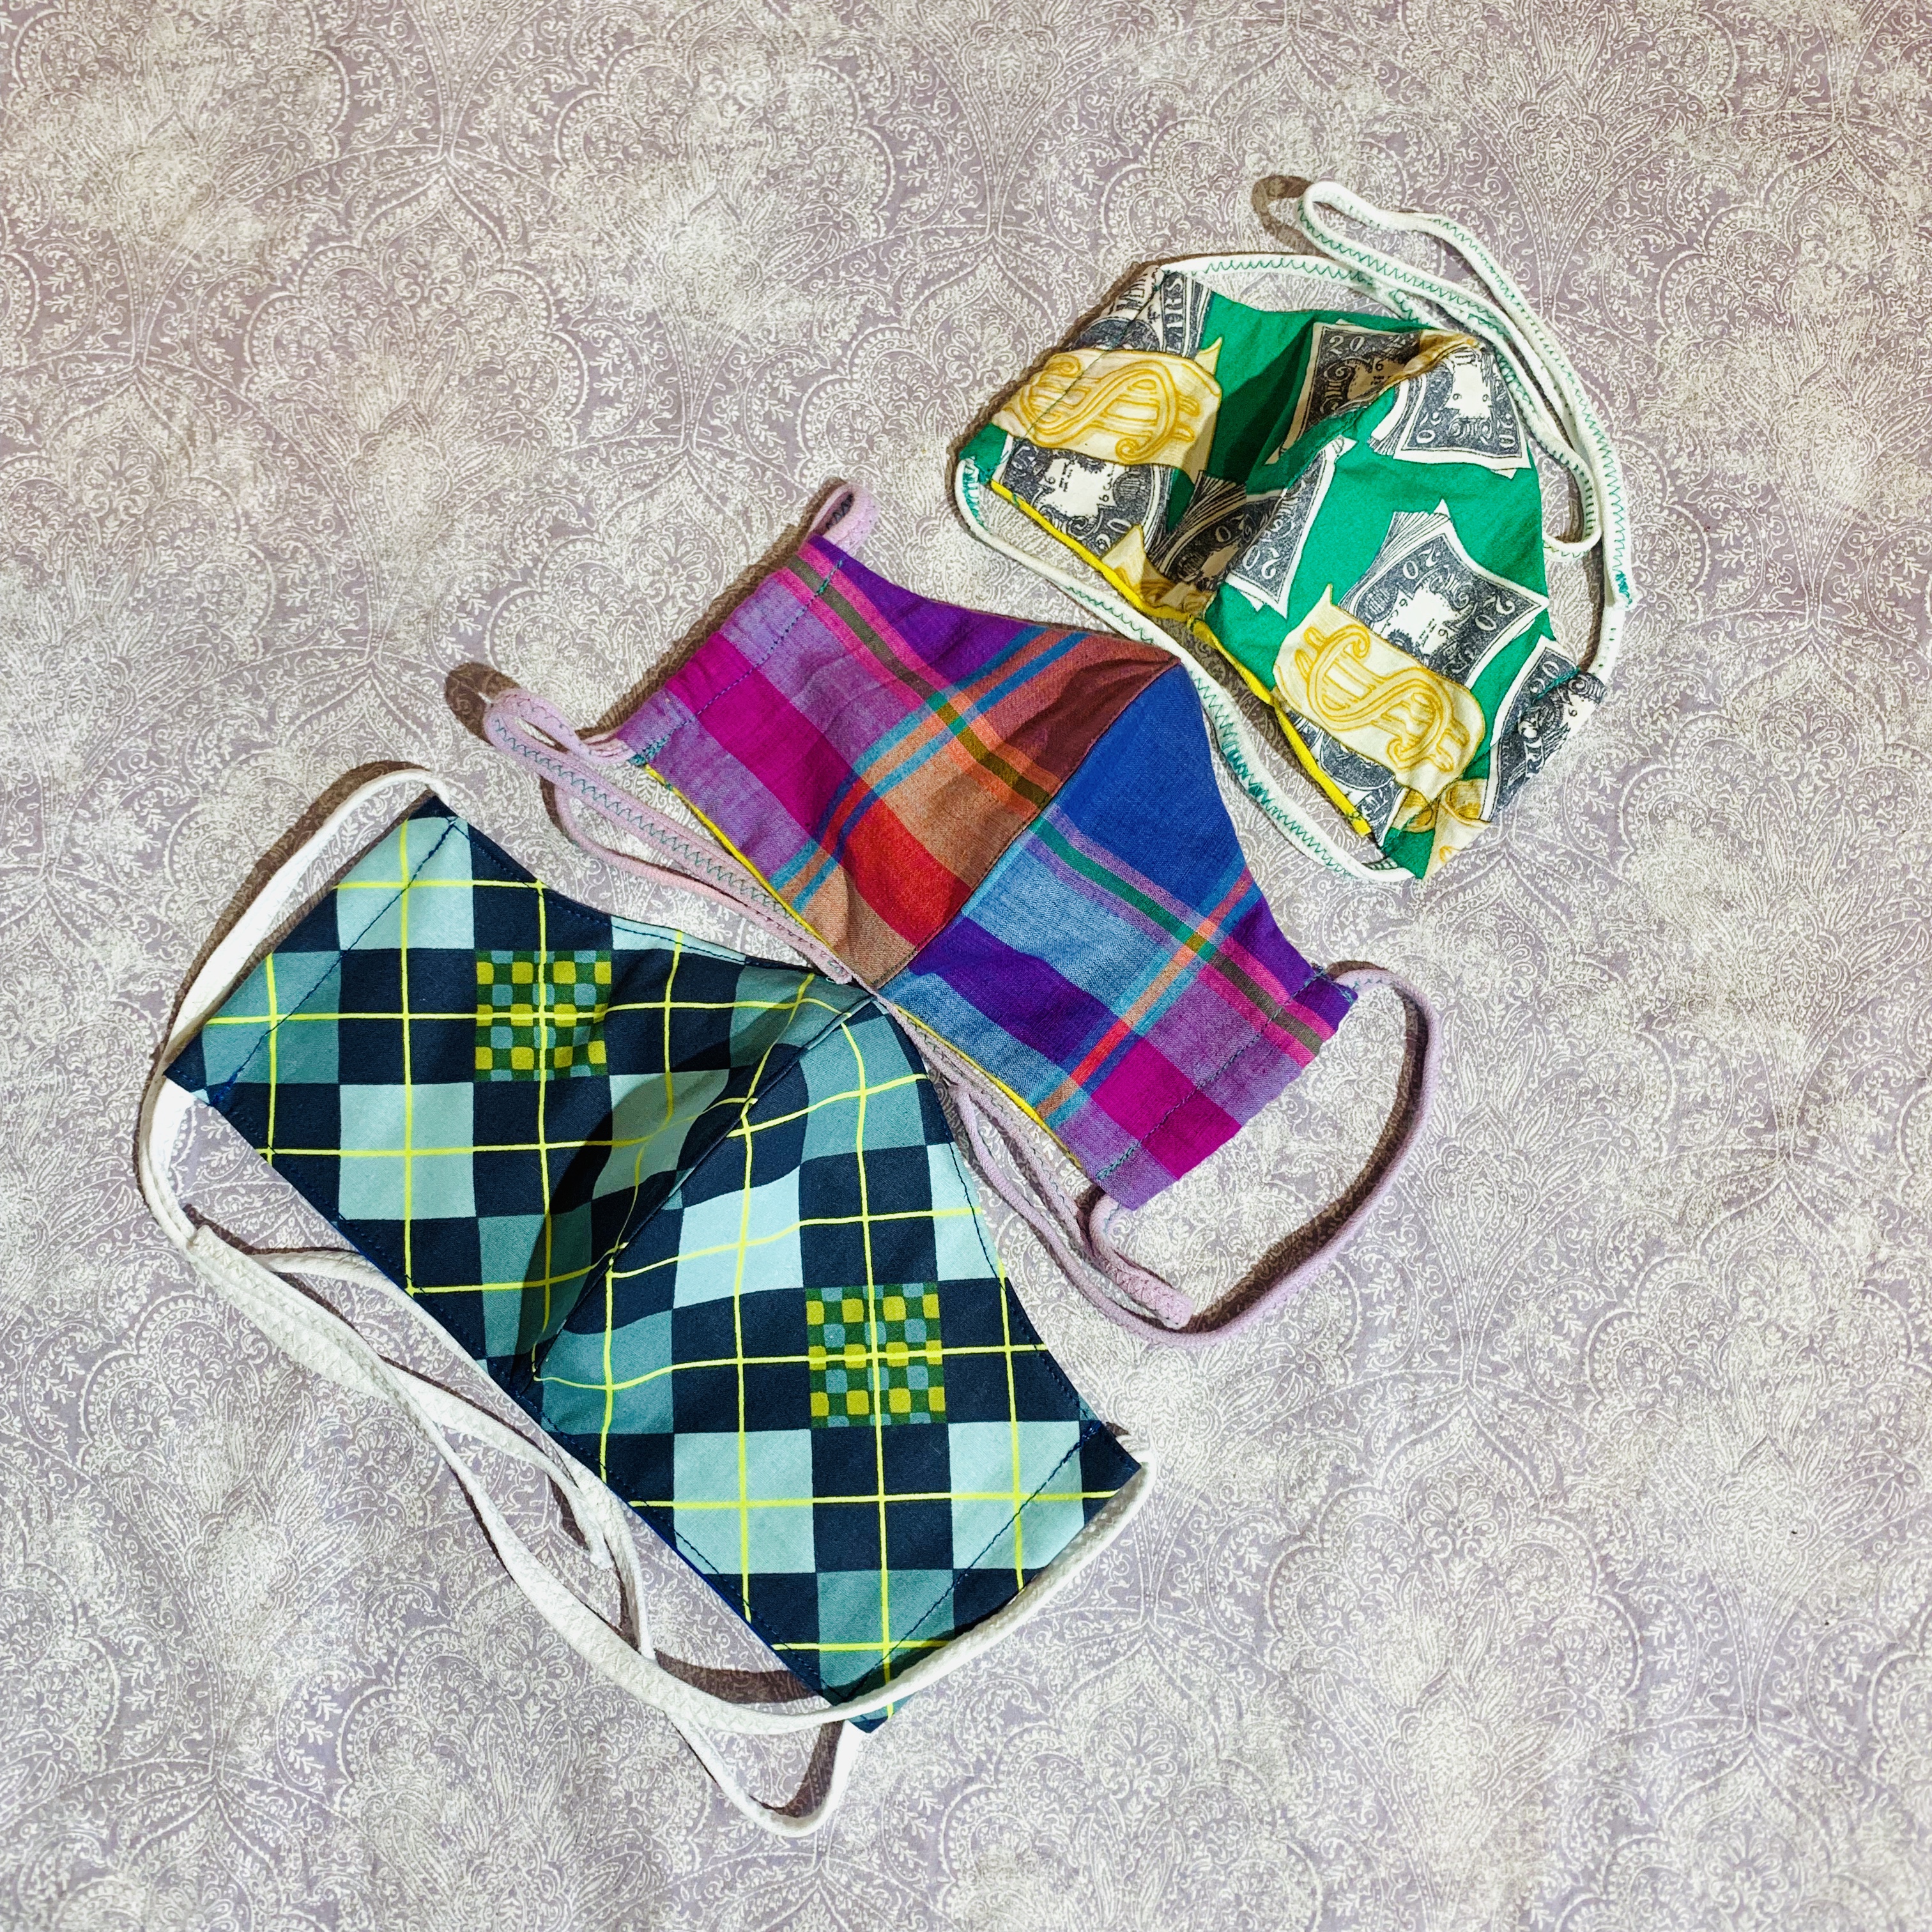
I’ve kept the t-shirt ties and the fabric channel I started with. Both of these are still fiddly to make (and take a lot of thread and break a lot of needles). But I like making the ties sturdy (doubled and stitched lengthwise). I also don’t want to make bias tape or use elastics.
Now that you’ve learned how to make face masks…

Or, more accurately, you’ve learned how “I” learned how to make face masks – what do you think? Will you give it a try yourself? After making over 100 to give away and sell, I have many more hours of practice than someone starting out today. But if you’re interested in making them – go for it! It’s not only fun to create something with your hands, it’s a great way to help your family, friends, and community!